5 Tips For Better Landscape Photography
5 TIPS FOR BETTER LANDSCAPE PHOTOGRAPHY

Landscape Photography Tips
Follow these 5 Landscape photography tips to instantly improve your results.
Landscape photography is one of the most popular genres of photography. Being able to capture images that will do justice to the great outdoors can be difficult, but very rewarding when you get it right. But getting it right can take a lot of time, effort and hard work.
Coming up in this article I’ll share my five tips that will hopefully help you understand more about what it is that really makes a great landscape photograph.
Stay local
Contrary to popular belief, you do not need to travel to the furthest reaches of the planet to get great landscape photography images. Don’t get me wrong, it does help. But I have made the mistake of travelling to a fantastic location, without first equipping myself with the tools and knowledge to make it count. Until you hone your skills and learn your craft, you would be better to stay and explore your local areas. Which can yield surprising results

Backlit poppies in a field, 400 metres from my front doorOne of the key components to a great landscape is the lighting. Now, let’s say you travel somewhere new, what are the chances that you’ll find a scene that makes for a composition, with lighting that really complements the scene? But, if you stay local, just simply make a note of the location and return to the location at a different time of day or different time of the year.
The best time of day to shoot most landscape scenes is in the early to late hours that we call the golden hour. Lighting can dramatically alter a scene so keep in mind the direction of the light and
The Old fishing boat on the beach at Marske-on-The-Sea, North Yorkshire
Composition is King
Composition can make or break your images. You can compose a boring scene to look interesting. An interesting scene composed badly will be boring. But when you compose a beautiful scene well, the results can be amazing.
Simply put, composition is how you arrange the elements of a scene within the frame of the photograph. It’s about lines and shapes that are created by the interactions of the elements, how they work together to tell a story and capture the attention of the viewer.
Learn the “Rules”
One of the basic composition ideas that works well with landscape photography is Leading Lines. Try to include something that will lead the viewer through the image, rows of trees or paths make for great leading lines in landscape photography.

Sunset on newcastle QuatsideThe Rule of Thirds
Rule of thirds, you can’t talk about composition and not mention the rule of thirds. It’s probably the easiest concept to master and because of that is one of the most widely used. Not just in photography but also within other visual arts such as cinematography.
To use the rule of thirds, imagine two vertical lines and 2 horizontal lines intersecting and cutting the scene into a 3 by 3 grid. By placing a subject on the intersection of those lines, or on the top or bottom third can help to place emphasis on the subject within the frame.
Leading Lines
I briefly mentioned Leading Lines above, we use lines in photography to draw a viewer’s attention to the subject of the image. The lines can be manmade objects such as fences, bridges, roads or something more natural, such as rivers, rows of trees or topographical features. Lines should ideally start at the edges of the frame and lead into the scene. I like to use paths and roads from the bottom right edge to lead into the frame. You can use leading lines to also convey a sense of scale to an image.
Simplify with Negative Space
Negative Space, because sometimes less is more. Sometimes it can be beneficial to a scene to know what to exclude rather than what to include. Does that foreground rock add or take away from the main subject? Do you need that tree? Negative space works to isolate a subject and make it stand out. Too many surrounding elements can ruin the balance of an image and can give the subject breathing room.

An abandoned fishing boat, Marske-By-The-SeaUse a long lens to bring out intimate details. I mentioned this in my tips and tricks for woodland photography post too. Don’t be afraid to use your telephoto lens to pull out those details in a landscape scene.
Always remember to perform an “edge patrol” before you take your shot. Take a glance around the edges for extraneous elements, this can strengthen a composition and can save time in post processing later on.
The grid overlay showing the intersecting lines of the rule of thirds
Exposure and light
I’m grouping these two together for the sake of brevity as each on their own could occupy an entire volumes of books, so I’m trying to be as concise as possible. For the purposes of this log post I’m going to assume that you understand the basics of the exposure triangle and how each affects the final image in technical and creative terms.
Understanding exposure and light is critical to good photography, not just landscape photography, but all types of photography. If we consider light as our resource, then exposure is how we collect that resource.
Realise when and why you would need a shallow depth of field, and when you would want a larger depth of field.
Recognise when to use long exposures and when to use faster shutter speeds.
Understand when to push above base ISO levels and what effect that will have regarding digital noise and grain in the final image.
Together these form the exposure triangle and each has a technical and creative impact upon the final image. This is a key component for all types of photography, and should be mastered by anyone wanting to learn the trade.
If composition is king, then light is the queen. Even the best most beautiful scene that is composed well, can suffer due to bad light. As mentioned above some of the best times to head out for landscape photography are the early and later hours of the day that we call the golden hours. The hour or so before and after sunrise and sunset. When the sun is low on the horizon and giving off a beautiful soft warm golden light.

Nighttime in DurhamEmbrace HDR
Yes I said it, embrace HDR. But before you click away in disgust, hear me out! I’m not talking about those god awful gaudy HDR images we saw everywhere a few years ago. But a more modern and subtle approach to HDR. I’d describe the vast majority of my landscape images as HDR, because I use methods like exposure bracketing and post processing techniques to capture and retain as much detail in an image as I possibly can. These are tools at our disposal and we should learn to use them to their fullest potential.
Bracketing Exposures
Bracketing is a method of capturing many exposures of the same image, I usually do this through altering the shutter speed to increase or decrease the brightness of a scene. This lets me retain detailed highlights by using a fast shutter speed. And to pull details from dark shadow areas by using a slower shutter speed, without increasing digital noise by doing this in the post process.
I wouldn’t use the aperture controls when bracketing as this would alter the focus and overall sharpness of the image. Similarly for Iso, This would introduce grain and noise into the image which could reduce overall detail. (This is where that exposure triangle stuff comes in handy.

04:32unrise on Redcar beachGet it right in Camera
Alternatively you can “get it right in camera” and use your collection of ND and graduated filters to achieve this in camera. Personally, I can be really lazy in the field. I also like to keep my pack as light as possible so filters are generally one of the first things to go with the exception of my Circular Polariser and 10-Stop ND filter.
A landscape photograph showing the Quayside of Newcastle-upon-Tyne at night. The Tyne bridge and millennium bridge are visible as is the sage building across the river
Newcastle at night

You don’t need an expensive camera!
You don’t need an expensive camera! Let me repeat that. YOU DO NOT NEED AN EXPENSIVE CAMERA to take great landscape Photographs. You can take great images on any kind of camera, even a phone camera these days. One of the good things about landscape photography is that you require a lot of the scene to be in focus, which given the smaller size of camera phones, is fairly easy to achieve. You may well be shooting in light levels that allow you to hand hold our camera rather than setting up on a tripod. Tripods can be essential items however, so I would always advice taking one on a landscape photography shoot.
When mounting a camera on a tripod, be sure to turn off the Vibration reduction to avoid a shaky image
A more advanced camera such as a DSLR or Mirrorless camera can make things easier and yield better results, but don’t be put off creating amazing images if all you have is a phone. The camera you have with you is better than the camera you leave at home. Composition, light and exposure are much more important parts of the process than what you record them on.
Landscape Photography gear
Camera Body
It doesn’t matter if it’s a 100 Mega pixel medium format beast, or a simple point and shoot. The techniques for capturing enchanting images of woodland and forests are the same. I currently use the Nikon D500 and the Nikon D7200 DSLR cameras.
A Tripod
When under the canopy of a woodland area, it can be surprisingly dark. We often don’t notice this due to the way our eyes adapt so well to low light situations, but unfortunately the camera is nowhere near as advanced as the human eye. So a tripod is necessary to get good sharp images. My primary tripod is the K&F Concept TM2324 tripod.

Northern Goldsmiths, Newcastle-Upon-TyneLenses
If you are using a DSLR or Mirrorless interchangeable lens camera. You may find it handy to carry one each of these.
Wide angle lens. Used to capture grand vistas, or just to include as much of a scene as you can. The wide angle look can be useful for showing the scale of an environment or the sheer size of a subject. My two preferred wide to standard lenses are the Nikon 12-24mm f/4 and the Tamron 24-70 SP VC USD f/2.8.
Telephoto lens. Often overlooked in landscape photography, the long lens can be useful for isolating intimate details of a landscape or scene. The main Telephoto zoom lens I use is the Tamron 70-200 SP VC USD f/2.8.
Macro lens or Extension tubes. Macro lenses are fantastic pieces of equipment to have in your photography bag. They can be used for extreme close ups and really getting into the intricacies of an environment. Extension tubes offer a similar functionality to a non-macro lens, allowing for much greater magnification and closer focussing. The macro lens I use is the Micro Nikkor 40mm f/2.8 that is designed specifically for DX sensor cameras.
Polarising Filter
While not an essential item, polarisers are handy to reduce glare and reflections from surfaces, the effect of a polariser is still not one that can be replicated in post processing. Which is why I believe it is the only filter a photographer actually requires.
ND & Grad Filters
ND and grad filters are small pieces of glass that fit over your lens’ front element. They work by reducing the amount of light coming into your camera. Enabling you to use longer shutter speeds to show motion in moving objects.
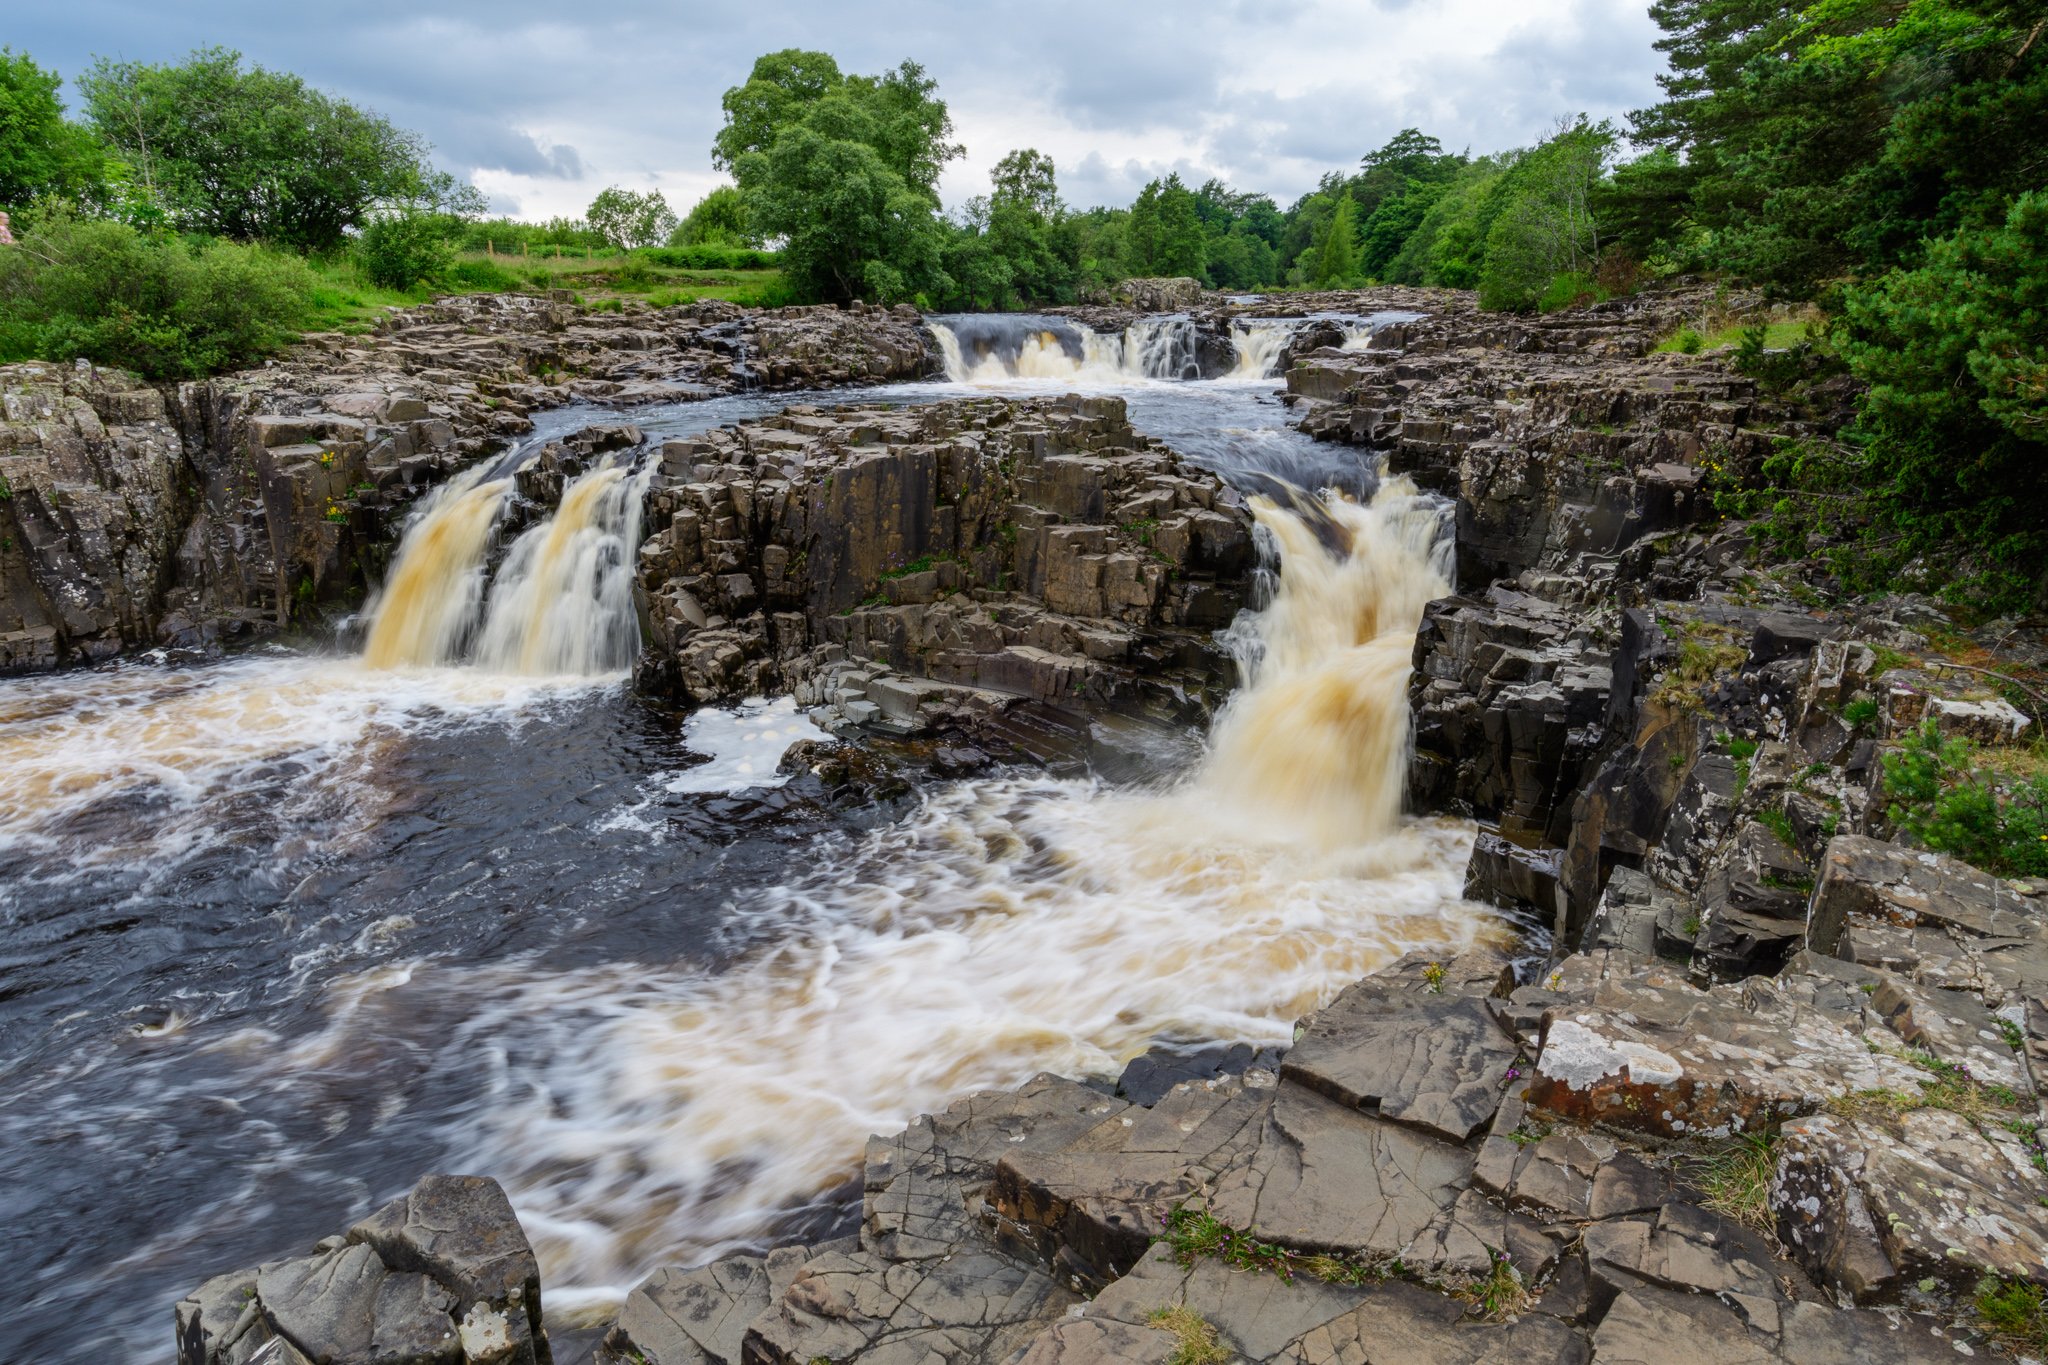
Low Force Waterfall, County Durham
Landscape Photography Tips Conclusion
So to summarise, stay local to begin with. Learn the trade before you spend hundreds on plane tickets. Understand how to correctly compose a landscape scene and know how different lighting can affect the appearance and feel of a landscape. Use the camera you have at hand. Get to know the rules of composition, but also, don’t be afraid to break them now and again. Take your time and capture as much information as you can.
So these are my top Landscape Photography tips, I hope you’ve found them useful. If you have let me know in the comments section below, or find me on Social media.
A Nikon D7200 DSLR attached to a tripod at Sunset
Behind the scene of a summer sunset shoot
